Installing RTA (Ready-to-Assemble) kitchen cabinets—especially Shaker-style—is a budget-friendly DIY project. With basic tools and clear steps, you can achieve a polished look without professional labor costs. Below is a streamlined guide to get your cabinets installed smoothly.
Pre-Installation Prep (1–2 Days Before)
1. Gather Tools & Materials
- Measuring: 4-foot level, tape measure, pencil, stud finder
- Power Tools: Drill (Phillips/spade bits), jigsaw (for pipes/outlets)
- Hardware: 3–4 inch cabinet screws, shims, rubber mallet
- Safety: Gloves, safety glasses, dust mask
- Extras: Painter’s tape, drop cloth, helper
2.Prep the Kitchen
- Clear old cabinets/appliances; patch/sand walls.
- Shut off water/electricity.
- Mark wall studs (16 inches apart) with painter’s tape.
- Draw level lines: 34.5 inches from floor (base cabinets) + 19.5 inches above counter (wall cabinets).
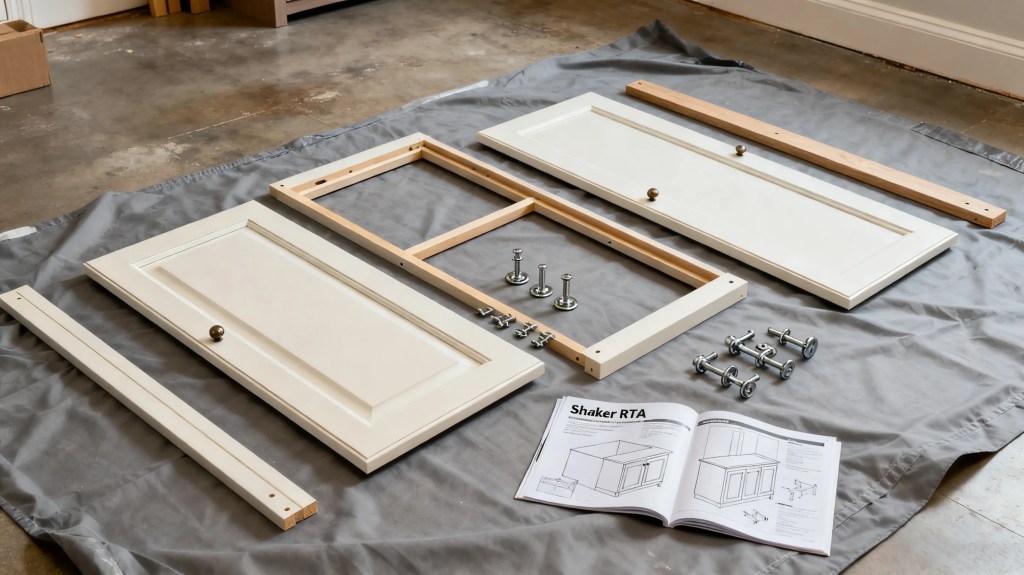
3. Unbox & Inspect
- Unpack carefully; lay parts on a drop cloth.
- Check all pieces (boxes, doors, hinges, screws) against the manual—ensure Shaker parts are undamaged.
- Pre-assemble drawers/hinges (most RTA brands have pre-drilled holes).
Step 1: Install Base Cabinets
1.Corner Cabinet First:
- Align top with 34.5-inch line; level, shim if needed.
- Drill pilot holes into studs; secure with screws (don’t over-tighten).
2.Add Adjacent Cabinets:
- Place next to corner cabinet (flush faces); clamp temporarily.
- Level, shim, then screw into studs + side-screw to join cabinets.
- Leave 1–2 inch gap at the last cabinet for adjustments.
3.Toe Kicks:
- Cut to length; attach with screws/adhesive (match Shaker finish).

Step 2: Install Wall Cabinets
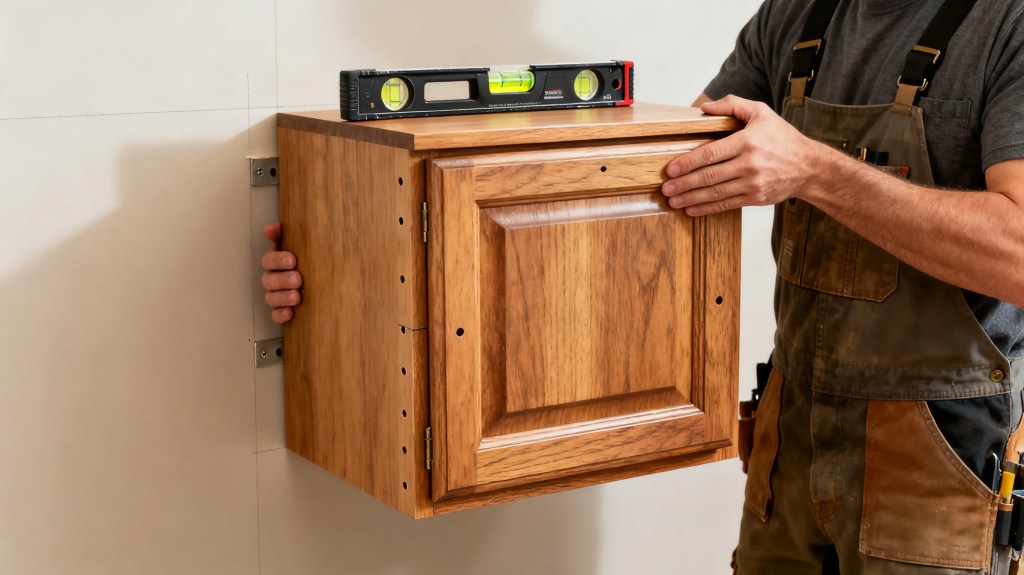
1.Start with Symmetry:
- Align bottom of corner wall cabinet with upper layout line; have a helper hold it.
- Level, mark top edge for reference.
2.Secure to Studs:
- Drill pilot holes into top/bottom rails (2 screws per stud).
- Shim if tilted; tighten slowly.
3.Join Cabinets:
- Clamp next cabinet flush; side-screw to join (3–4 screws/side).
- For cabinets above appliances: Leave 30-inch gap (stove) + add extra screws.
Step 3: Install Doors & Drawers
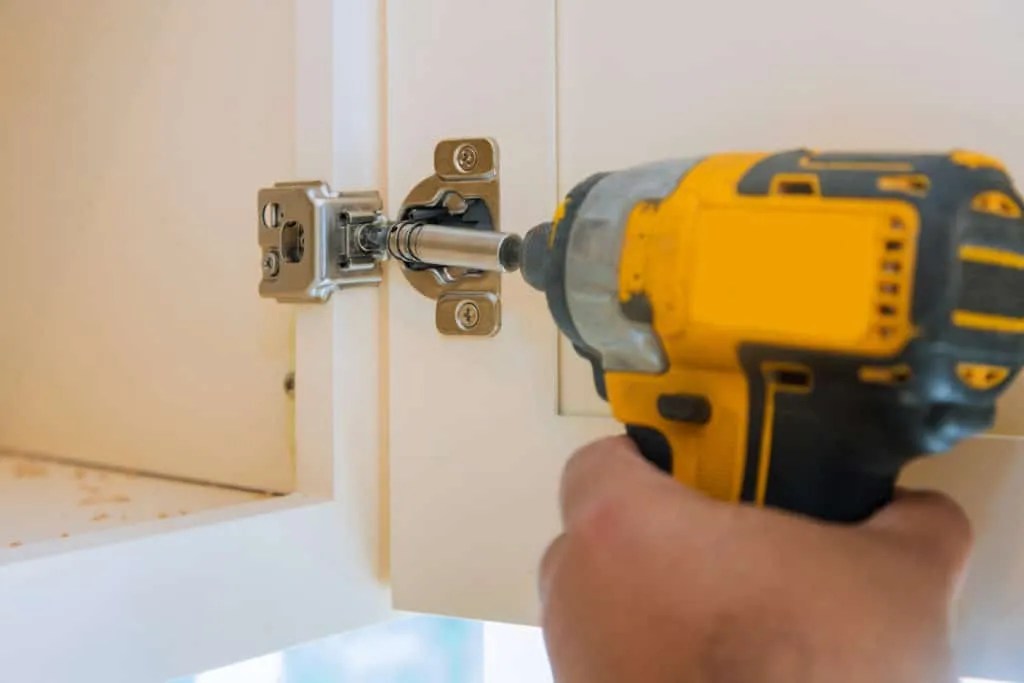
1.Doors:
- Align pre-hinged Shaker doors with cabinet brackets; screw in hinges.
- Adjust: Vertical (up/down), Horizontal (left/right), Depth (close/far). Ensure frame edges are even.
2.Drawers:
- Slide glides into pre-drilled slots (follow manual).
- Test drawer box; adjust glides if stuck.
- Attach fronts (if separate) from inside.
Step 4: Finishing Touches
- Trim Shims: Cut excess with utility knife; sand edges.
- Hardware: Drill pilot holes for pulls/knobs (use template for spacing). Center on Shaker doors/drawers.
- Clean & Inspect: Wipe cabinets; test doors/drawers for smoothness.

Quick Pro Tips
- Level twice—uneven cabinets ruin countertops.
- Always use a helper for wall cabinets.
- Keep the manufacturer’s manual handy.
- Don’t rush hardware—misaligned pulls stand out on Shaker styles.
Simplified RTA Shaker cabinet installation saves money and builds pride. Focus on leveling and alignment, and your kitchen will look custom-built. Grab your tools and start—you’ve got this!

Leave a comment